How to make textures in Wings 3D?
Getting Started with Wings 3D
Before diving into texturing, it's important to familiarize yourself with the Wings 3D interface and basic functions. Wings 3D is a free and open-source 3D modeling tool known for its simplicity and efficiency. It offers a range of modeling tools and features that cater to various needs, from basic shape manipulation to advanced modeling techniques.
To start texturing in Wings 3D, you need to have a model ready for texturing. If you don't already have a model, you can create one within Wings 3D using its modeling tools or import a model from other sources. Ensure that your model is well-prepared with proper UV mapping, as this is crucial for accurate texturing.
UV Mapping
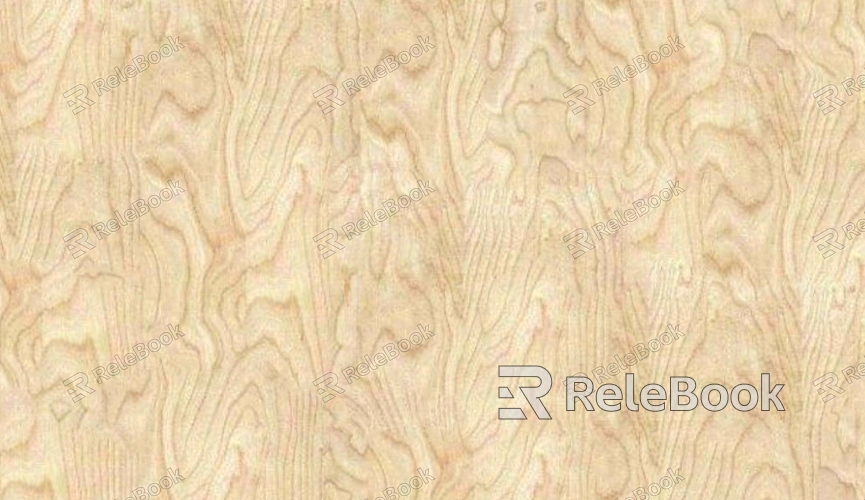
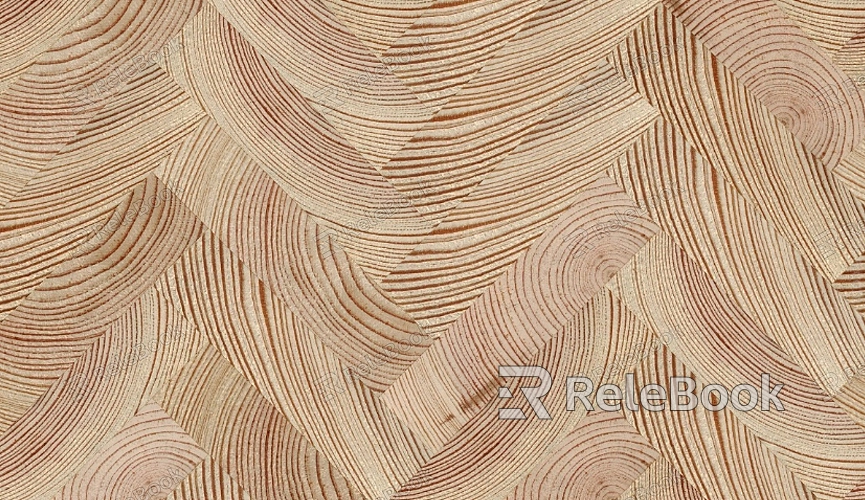
UV mapping is a process that involves unwrapping a 3D model's surface into a 2D plane. This 2D representation allows you to apply textures accurately to the model. In Wings 3D, UV mapping is a critical step before you can apply any textures.
Here’s how you can perform UV mapping in Wings 3D:
1. Select Your Model: Click on the model you wish to texture. Ensure you are in the 'Face' selection mode for precise UV mapping.
2. Enter UV Mapping Mode: Access the UV mapping tools by navigating to the “Select” menu and choosing “UV Mapping” or pressing the shortcut key for UV mapping. This will unwrap your model’s faces into a 2D UV layout.
3. Adjust UV Layout: Once unwrapped, you can move and scale the UV islands (the 2D representation of your model's faces) to ensure that they fit well and are proportionate. Proper adjustment is essential to prevent texture distortion.
4. Export UV Layout: After adjusting the UV layout, export it as an image file. This image will serve as a guide for creating your textures.
Creating Textures
With your UV layout exported, you can now create textures using image editing software such as Photoshop, GIMP, or even simpler tools like Paint. NET. The texture you create will be mapped onto your 3D model based on the UV layout.
Here’s a step-by-step approach:
1. Open UV Layout: Open the exported UV layout image in your chosen image editing software.
2. Design Your Texture: Use the UV layout as a guide to paint or design your texture. Ensure that important details align with the corresponding UV islands.
3. Save the Texture: Once your texture is complete, save it in a format compatible with Wings 3D, such as PNG or JPG.
Applying Textures in Wings 3D
Now that you have your texture ready, it’s time to apply it to your model in Wings 3D.
1. Open the Material Editor: Navigate to the “Material” menu and select “Material Editor” or use the appropriate shortcut.
3. Create a New Material: In the Material Editor, create a new material. This material will be used to apply your texture to the model.
4. Assign the Texture: Within the material properties, find the texture mapping options. Load your texture file into the material by selecting it from your file system.
5. Apply Material to Model: Assign the created material to your model. You can adjust material properties such as shininess, reflectivity, and texture mapping coordinates to achieve the desired visual effect.
6. Preview and Adjust: Switch to the rendered view mode to preview how the texture appears on your model. Make any necessary adjustments to ensure the texture looks as intended.
Troubleshooting Common Issues
While texturing in Wings 3D, you might encounter some common issues. Here are solutions to a few typical problems:
1. Texture Distortion: If your texture appears distorted, recheck your UV mapping. Ensure that the UV islands are properly laid out and aligned.
2. Texture Not Displaying: If the texture isn’t showing up, verify that you’ve correctly assigned the texture in the Material Editor and that the file path is accurate.
3. Seams and Artifacts: Seams or artifacts on your model can often be fixed by adjusting the UV layout or refining your texture painting. Ensure there are no overlapping UV islands.
Exporting Your Textured Model
Once you're satisfied with the texturing, you may want to export your model for use in other applications or for rendering. To export your textured model in Wings 3D:
1. Choose Export Options: Go to the “File” menu and select “Export”. Choose a format that supports textures, such as OBJ or FBX.
2. Check Export Settings: Ensure that texture coordinates and materials are included in the export settings to preserve your texture when imported into other software.
3. Complete Export: Finalize the export process and save the file to your desired location.
FAQ
What file formats does Wings 3D support for textures?
Wings 3D supports several common image formats for textures, including PNG, JPG, and BMP.
Can I use procedural textures in Wings 3D?
Wings 3D primarily supports image-based textures. For procedural textures, you might need to use additional tools or software to generate and apply them.
How can I improve the resolution of my texture?
To improve texture resolution, create your texture in a higher resolution and make sure the UV mapping is appropriately scaled to avoid pixelation.
Why is my texture not aligning correctly on my model?
Texture misalignment often results from incorrect UV mapping. Double-check your UV layout and ensure that the texture coordinates match your UV map.
Can I animate textures in Wings 3D?
Wings 3D does not support texture animation directly. For animated textures, consider using other software or exporting your model to an application that supports animation.
